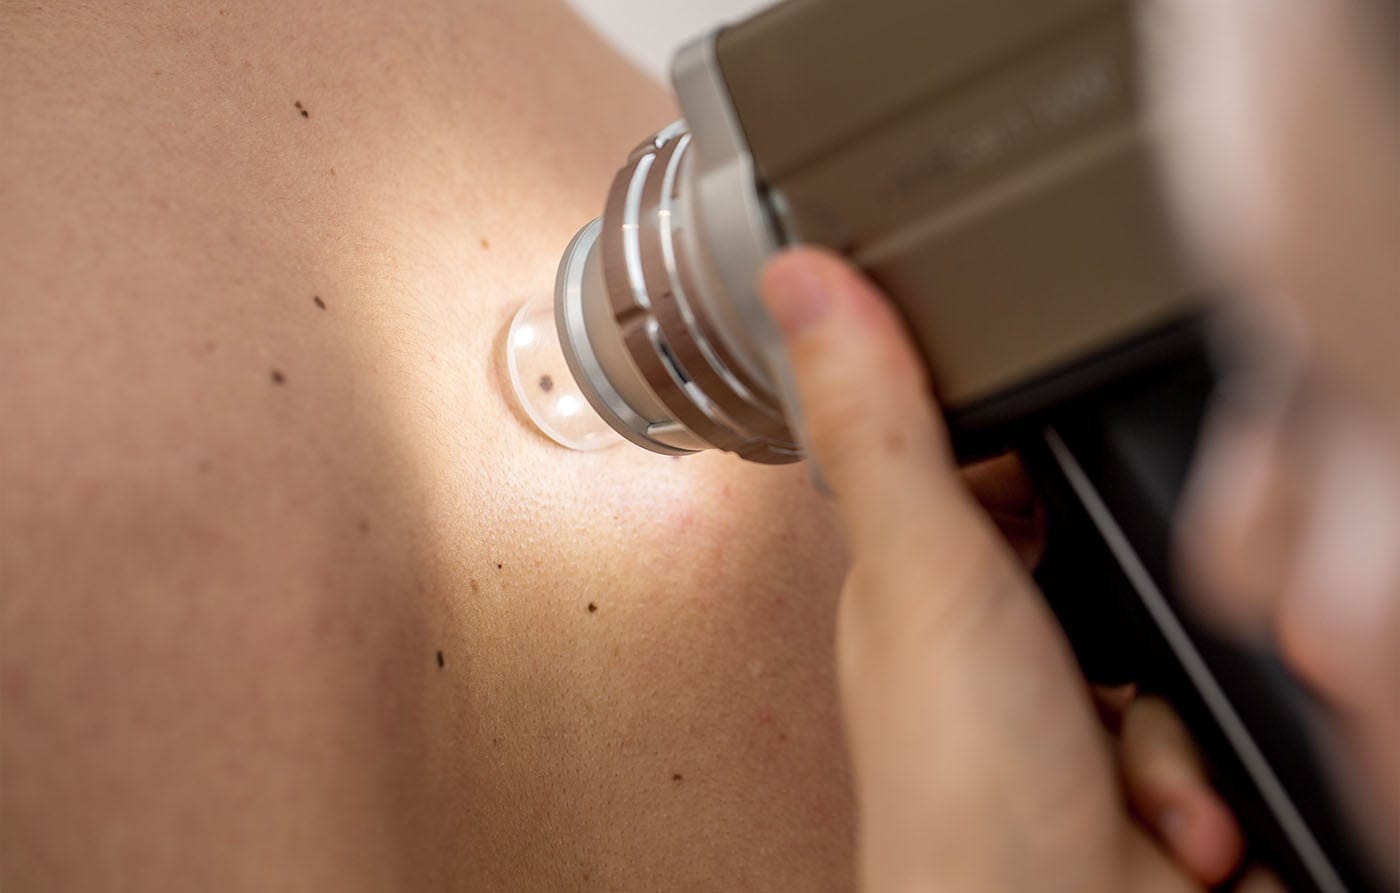
Skin Check: General Info about Medical- and Self-Exams
Medical skin exams and skin checks at home are important for early detection of skin cancer.
EDUCATIONAL ARTICLE | Medically reviewed by Professor Chris Bunker *
Dermatologists all over the world recommend a skin check, a head-to-toe self-examination on a regular basis in order to find any changing lesions on the skin or new marks or moles in adults (although it can be normal for new moles to appear and to change in childhood, puberty and early adult life, and in pregnancy, after 35 years of age it is more unusual).
Changes such as these can be early warning signs of skin cancer and should be discussed with a doctor as soon as possible. In many cases, skin cancers can be successfully cured if detected early.
The Importance of Skin Checks for Early Detection of Skin Cancer
Skin cancer is the abnormal growth of damaged skin cells. Skin cells usually get damaged by overexposure to UV rays, but skin cancer can also develop on body parts that are never exposed to the sun. Research also shows that different factors, such as your genes, predict if you are at higher risk of developing skin cancer.
Additionally, this article covers:
- Who should consider a medical skin check by a healthcare professional
- What signs to look for during your skin check
- What tools do you need to perform a skin self-exam
- What areas to examine during your skin check at home
- What to do if you notice anything worrying
- Things you should keep in mind for your skin check
Medical Skin Checks: Professional Full-Body Skin Exams
Who Should Consider A Medical Skin Check for Skin Cancer
Anyone can get skin cancer and skin checks at home (checking for suspicious lesions and other skin changes) are important. For those at higher risk of developing skin cancer, it may also be recommended to get medical skin cancer exams on a regular basis. The individual risk factors that increase the need for a medical skin examination are:
- Many moles, or unusual moles – if you have a high number of moles (more than about 50), moles of different shapes, sizes and colours, or some moles that just look different to the others.
- Certain skin types – in general the paler your skin, the higher the risk.
- Sunburn or sunbed use – if you have suffered a severe sunburn in the past or have used tanning beds.
- Outdoor work or lifestyle – if you have a lot of exposure to the sun, even without burning, you are at higher risk.
- Personal skin cancer history.
- A family history of skin cancer.
- Reduced immunity – perhaps from a medical illness or medicines you take.
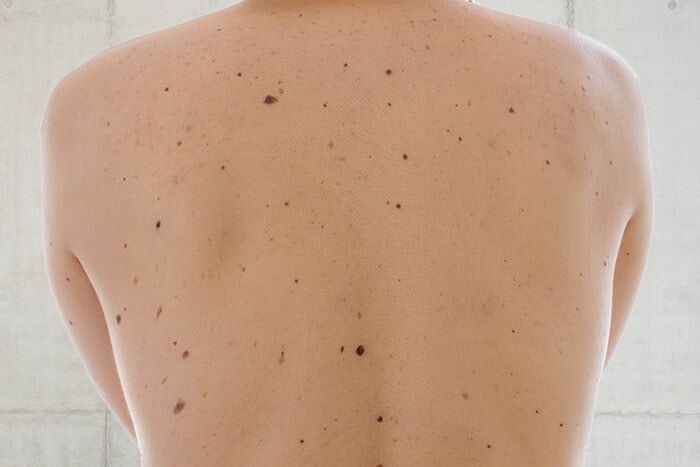
Regular skin exams by a trained professional such as a dermatologist and skin self-examination for suspicious changes can help detect skin cancer early, when it’s easier to treat.
If you think you are at high risk of skin cancer or are concerned about anything on your skin, talk to your GP or Dermatologist. Don’t delay seeking medical advice if you are concerned about any mole or mark on your skin.
Skin cancer can develop in between visits to your doctor, so ask your doctor how to check your own skin and moles and how often to perform a skin check at home.
MIISKIN PROMO
Tracking your moles for changes?
Miiskin helps you routinely take full-body photos and close-ups of moles to look for new or changing moles and marks.

How to Check Your Skin at Home: A Step by Step Self-Examination Guide
Take a look at this short skin check video guide: How to check your skin at home before you start your first skin self-examination. The video goes through the 5 main steps of a skin self-exam and covers the parts of your body you need to check.
What Signs to Look for When Performing a Skin Check at Home?
It is important to know what to look for during a skin check. There are three main types of skin cancer (basal cell carcinoma, squamous cell carcinoma, and melanoma) and every one of them may appear differently on the skin and it’s helpful to know their warning signs. These skin cancer pictures highlight examples of the most common types of skin cancer.
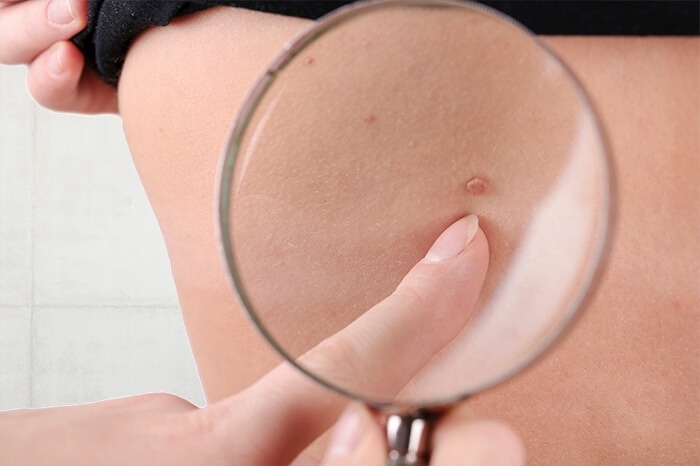
The common signs are: 1
- A pale patch of skin or a pearly or waxy bump (basal cell carcinoma)
- A bleeding or scabbing sore that heals and returns (basal cell carcinoma)
- A firm, red nodule (squamous cell carcinoma)
- A flat lesion with a scaly, crusted surface (squamous cell carcinoma)
- A mole that changes in color, size or feel or that bleeds (melanoma)
- Dark lesions on your palms, soles, fingertips or toes (melanoma)
Read Miiskin’s educational resources about the warning signs of skin cancer and common melanoma symptoms. We also recommend you to take a look at our extensive gallery that contains pictures of different types of melanoma compared to normal moles.
Keeping the signs to look for in mind when you do your skin self-exam, but remember to contact your doctor if you need a proper assessment.
The Tools You Need to Perform a Skin Self-Exam
When checking your skin you will need the following tools:
- a well lit room – daylight is best
- a wall mirror and a hand mirror
- a chair and a foot rest
- a blow-dryer or a comb to move your hair
- a body map and a pencil to record your skin appearance or a mole tracking app
Performing your skin checks with a helper is recommended. They can help check your back and other hard-to-see areas of your skin.
Use a Mole and Skin Check App to Record Your Skin’s Appearance During Your Self-Exam
It is important to get to know your skin. Spend time observing your skin and be aware of your moles and birthmarks and freckles. Pay special attention to atypical moles – if you have any. These measures may help you notice any changes next time you examine your skin.
It can however be very difficult to remember how your skin normally looks and if anything has changed between your skin checks.

There are a lot of printable Body Map and Self-Examination materials available to download to help you keep track of any new spots on your body, but it may take some time to note everything down, especially if you have a lot of moles.
That’s where telehealth and mole tracking apps might be very helpful.
You can use a mole check app to take photos of your skin and moles to use them for comparison over time. It can be more practical than documenting changes with pen and paper.
This is a very promising approach that raises regular skin checks in the home to a higher level, but more importantly, using an app during your skin self-exams saves time, and gives you a documented photographic history of your moles and lesions that you can refer to as time goes by.
Skin tracking apps have also been recognized by dermatologists and healthcare providers as a very powerful skin monitoring tool and are highly recommended to help users structure and simplify the process around skin self-examinations, take photos of their skin and moles and use them to monitor changes over time.
Before you start using any skin check app it’s always important to discuss your skin concern and risk profile with your doctor first.
Head-To-Toe Skin Self-Examination Image Guide
It’s very important to examine your entire skin during your skin checks. That’s why we have created this guide. If you have difficulties checking the back of your body, get a family member or another helper to assist you, use a hand-held mirror or a phone camera to document the skin.
1. Examine Your Face and Scalp
First, face the mirror and give your face a good look. Inspect your nose, lips, mouth and ears.
Then take a look at your scalp. To get a clear view, use the mirrors to see your scalp. Use a hair dryer or a comb to move hair so you can see the scalp.

Skin Checklist for your head and neck:
- Face (nose, lips, ears)
- Scalp and neck
2. Check Your Hands and Arms
Start by checking your hands. Look at your palms, check the area between the fingers and examine your fingernails.
Next, examine your wrists and, before moving up to your elbows and upper arms, remember to check both the front and back of your forearms.

Skin Checklist for your arms and hands
- Hands (palms and backs, the area between your fingers and under the fingernails)
- Wrists
- Forearms (front and back)
- Elbows
- Upper arms
- Underarms
3. Check Your Chest and Torso

While still facing the full-length or a wall mirror, look at your chest and torso. Ladies, don’t forget to check the underside of your breasts.
Skin Checklist for upper body:
- Chest
- Torso
- Underside of breasts
4. Inspect Your Back, Buttocks and Back of Your Legs
Turn your back to the full-length or wall mirror and use a hand mirror to check your back. You may also ask your helper to take a back photo with a skin tracking app so you can later compare for any changes.
Start with your shoulders and upper back.

While still using the hand-held mirror, and with your back towards the wall mirror, look down and check your lower back, buttocks and back of your legs.
Skin Checklist for your back:
- Shoulders
- Upper back
- Lower back
- Buttlocks
- Back of your legs
5. Check the Rest of Your Legs, Genitals and Feet
Sit down and use the hand-held mirror to check your genitals. Next, check the rest of your legs, the front and sides of your thighs and shins, down to your ankles and feet. When checking your feet make sure to examine the area between the toes and toenails and take a look at the soles of your feet and heels.

Skin Checklist for your legs:
- The rest of your legs
- Thighs
- Shins
- Ankles
- Feet (tops, between the toes, toenails, soles)
What Should I Do if I Notice a Suspicious Lesion on My Skin?
If you notice any new spot that is different from others, a mole that is changing or any lesion on your skin that itches or bleeds, or you think it shows any of the signs of skin cancer, make an appointment without delay to see your GP or a dermatologist.
Keep in mind:
- Regularly checking your skin is recommended by many cancer associations around the world.
- If you are not comfortable performing a skin check at home and are concerned about skin cancer, contact your doctor.
- This page is for informational purposes only and does not substitute a visit to the doctor or your doctor’s instructions.
In Summary:
To recap this article on skin self-examination and checking your skin, we have created this short checklist:
Things you should keep in mind for your skin check:
- Consider whether you are at higher risk of skin cancer – you may decide to discuss your skin cancer risk profile with your doctor
- Get to know the signs of skin cancer and melanoma
- Know which areas of the skin to check
- Get to know your skin and moles – use photos to track changes
- An app can help you with the skin checking process
- See your doctor if you have any concerns
- Repeat the skin checking process regularly to catch skin changes early
* Prof. Bunker’s fee for this review has been donated to the British Skin Foundation, a charity committed to research into skin conditions including skin cancer.
Consult a Board-Certified Dermatologist Now!
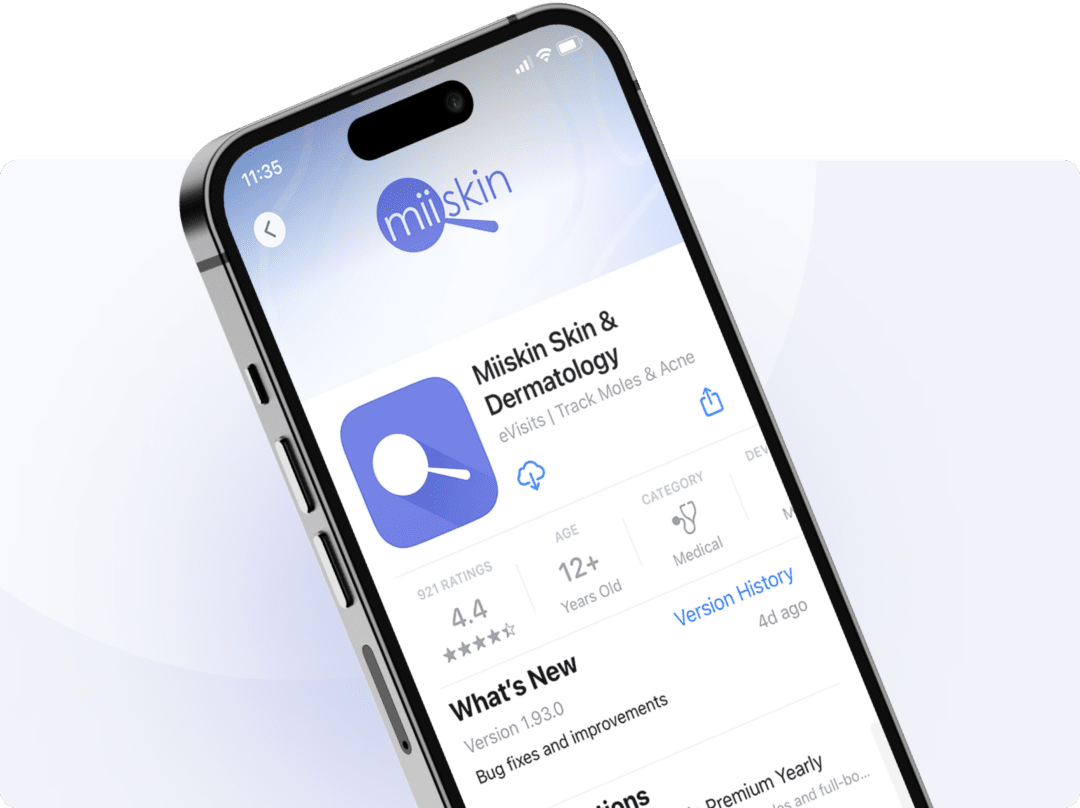
Download the Miiskin app to connect with independent, board-certified dermatologists who are licensed in your state. Answer a few questions, upload some photos and get a treatment plan in 1-2 days. Consultation price is $59 and medication renewals are only $39.
Online dermatology care is ideal for chronic dermatology conditions.

